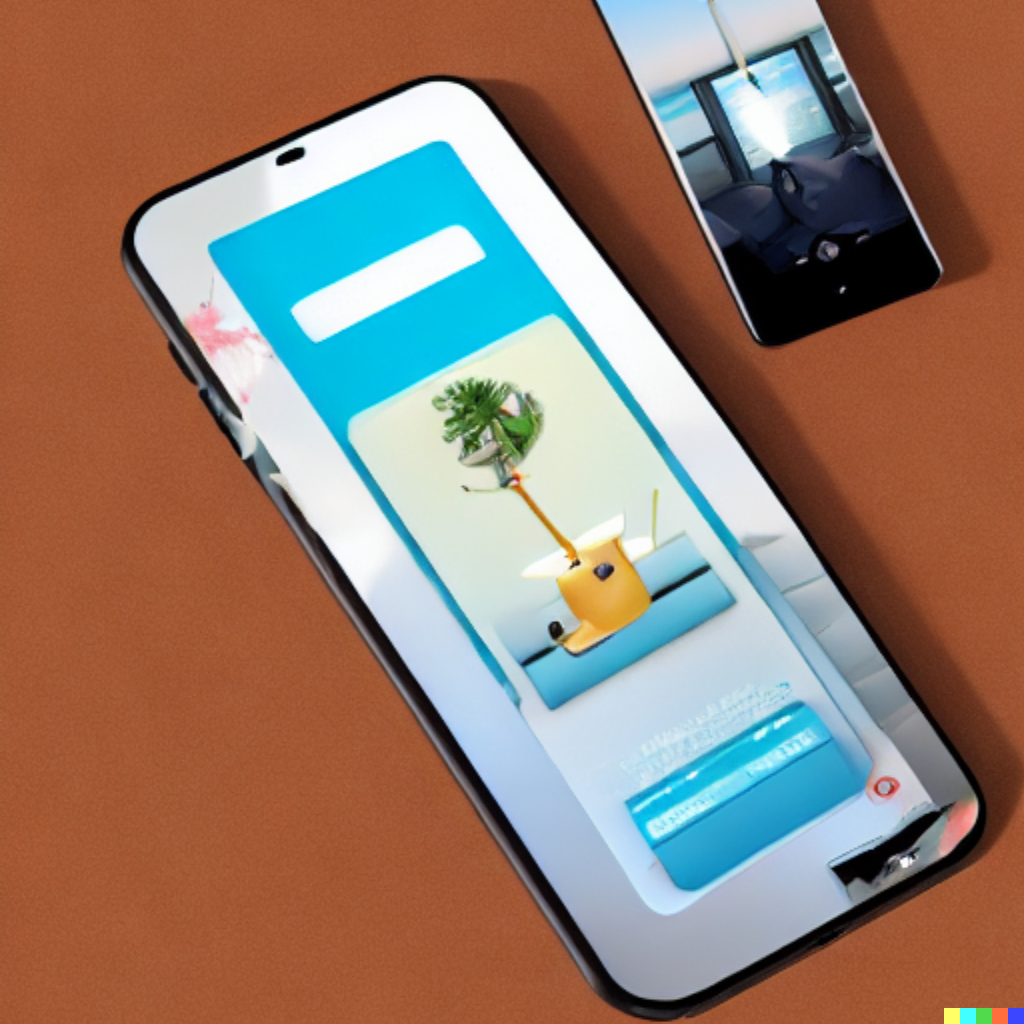
As a photographer, you have the opportunity to create and sell various types of digital products. One option to consider is creating and selling floating mockups.
This type of digital product allows you to showcase various products, such as posters, phone cases, and t-shirts, in a visually appealing way that can help potential customers imagine what the product might look like in real life. In this article, we’ll go in-depth on how to create and sell floating mockups.
Step 1: Choose a Product to Showcase
The first step in creating a floating mockup is to choose the product you want to showcase. When selecting a product, it’s essential to choose one that is visually appealing and has market demand. You may want to consider researching popular products in your industry or niche and selecting one that has broad appeal.
Step 2: Take High-Quality Product Photos
To create a floating mockup, you’ll need to take high-quality product photos. Use a camera with good resolution and lighting to capture the product from multiple angles. You may want to take photos against a plain white background to make it easier to remove the background later on.
Step 3: Create a Blank Background
Using photo editing software such as Photoshop or Canva, create a blank background for your mockup. Choose a solid color or create a design that complements your product. Make sure the background is large enough to accommodate the product and leave enough space around it for the floating effect.
Step 4: Combine Product Photos and Background
Open both your product photo and blank background in your photo editing software. Drag your product photo onto the background and use the selection tool to remove the white background around the product. Adjust the position and size of the product to create the floating effect.
Step 5: Add Text and Design Elements
Once you’ve created the floating mockup, you may want to add text or design elements, such as a logo or slogan, to enhance its visual appeal. Make sure the design elements complement the product and are visually appealing.
Step 6: Save as a High-Resolution File
Save your floating mockup as a high-resolution PNG or PSD file to ensure the quality of your mockup is not compromised when it is uploaded.
Step 7: Sell and Promote
Once you have finished saving your floating mockup, it is time to sell them. You can try using SociaBuzz SHOP, which is a platform that allows you to sell digital products such as floating mockups. To get started, simply create a page, upload your floating mockup file, and set your own price. Once you have done that, share your SociaBuzz SHOP page link on all your social media to attract potential buyers.
In conclusion, floating mockup photography is one of the types of digital products you can sell as a photographer. By following these steps, you can create high-quality floating mockups that showcase products in a professional and visually appealing way.


